How to Replace Brake Pads: A Step-by-Step DIY Tutorial

Replacing brake pads is an essential maintenance task that can save you money and ensure your vehicle's safety. While it might seem daunting, with the right tools and guidance, you can do it yourself. This step-by-step tutorial will walk you through the process.
Gathering Your Tools and Materials
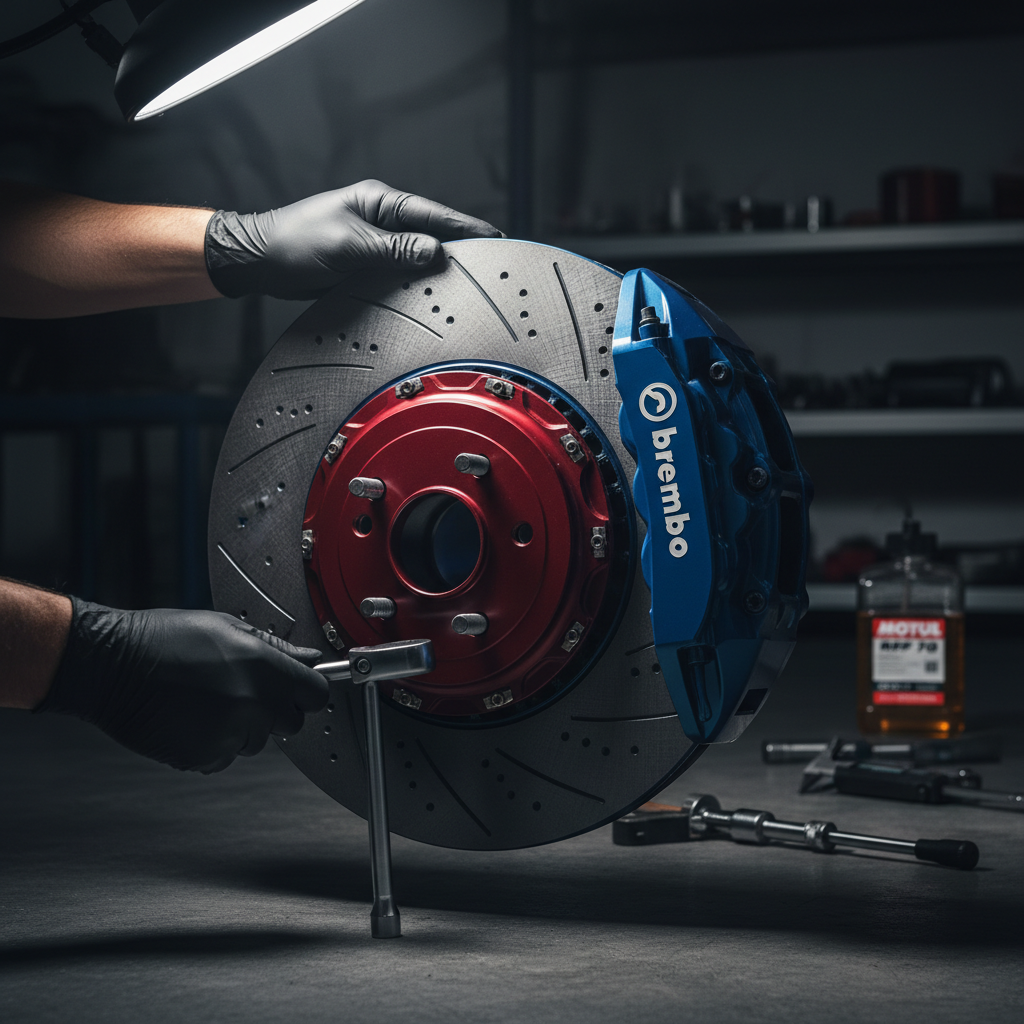
Before you begin, make sure you have all the necessary tools and materials. You'll need a jack, lug wrench, C-clamp, brake cleaner, and new brake pads. It's also wise to have a set of wrenches and a bungee cord on hand.
Ensure your vehicle is parked on a level surface and that you have enough light to work. Safety first: always use wheel chocks and wear protective gloves and eyewear.
Removing the Wheel
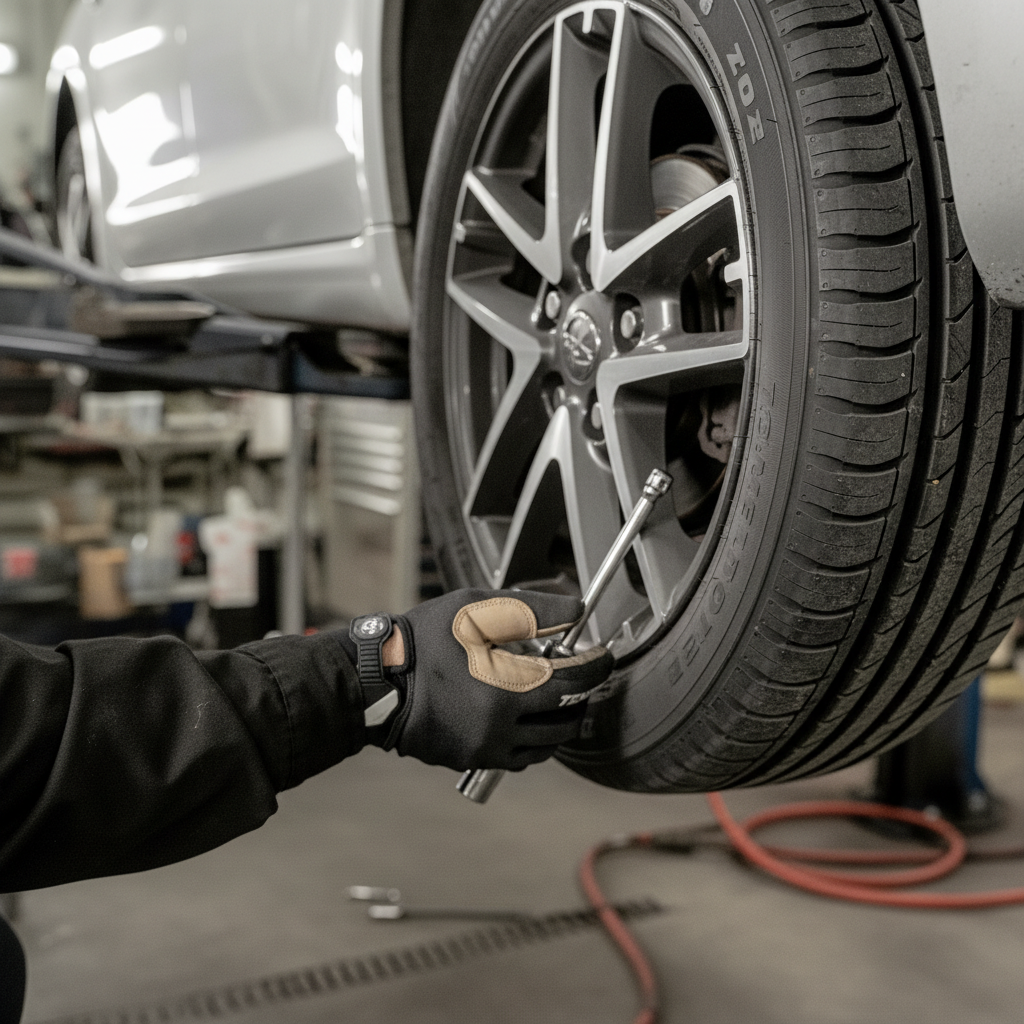
Start by loosening the lug nuts on the wheel where you'll replace the brake pads. Use the jack to lift the car until the wheel is off the ground. Remove the lug nuts completely and take the wheel off to access the brake assembly.
Accessing the Brake Pads
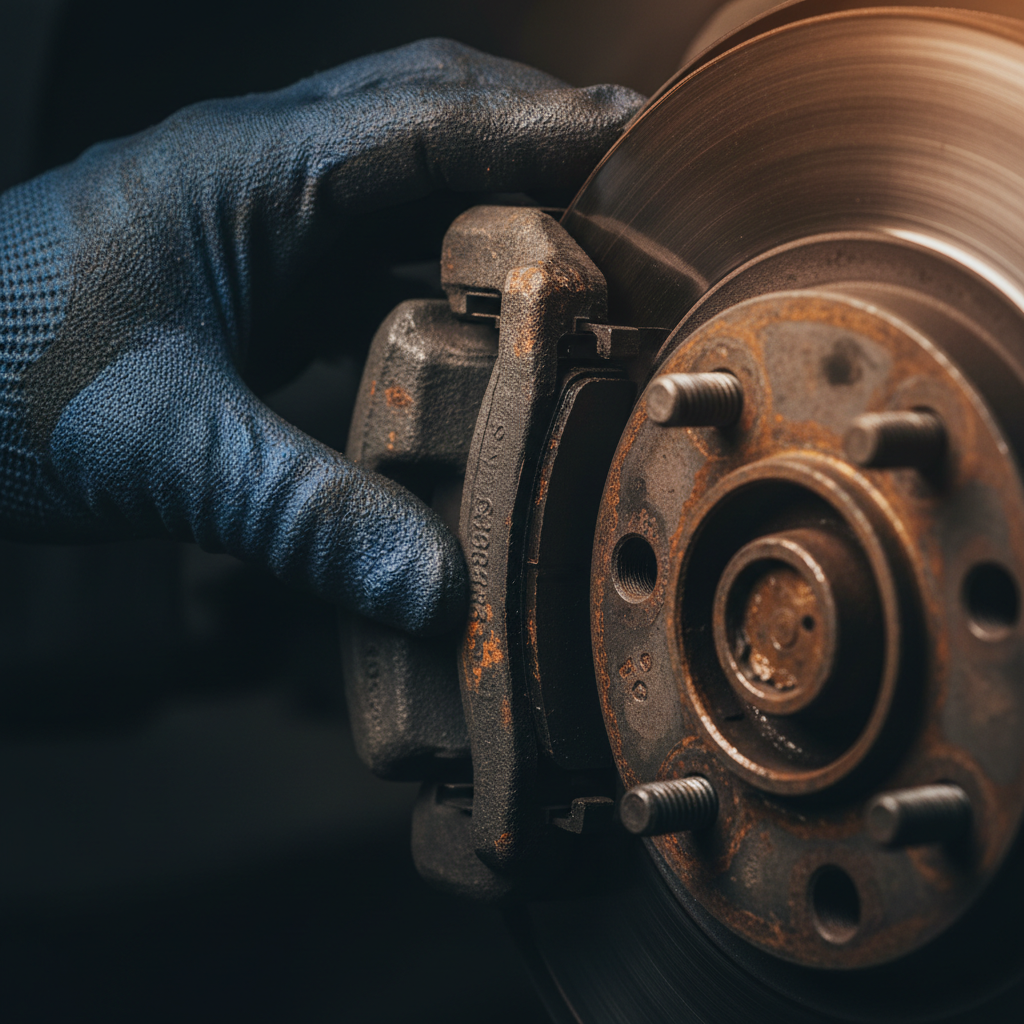
With the wheel removed, locate the brake caliper. You'll need to remove it to access the brake pads. Use the appropriate wrench to unbolt the caliper and carefully slide it off the rotor. Secure it with a bungee cord to avoid putting strain on the brake line.
Removing Old Brake Pads
Once the caliper is secured, remove the old brake pads. They should slide out easily, but you might need to apply some gentle pressure if they're stuck. Inspect the rotor for any damage—if you notice deep grooves or warping, it might need resurfacing or replacement.
Installing New Brake Pads
Before installing the new pads, use brake cleaner to remove any dust or debris from the brake assembly. Next, use a C-clamp to compress the caliper piston. This step is crucial as it ensures the new pads fit properly.
Slide the new brake pads into place, making sure they're aligned correctly. Double-check that they're secure before proceeding.
Reassembling the Brake System
Once the new pads are in place, carefully reposition the brake caliper over them. Bolt it back into place, ensuring everything is tight and secure. Remove the bungee cord and double-check all connections.
Finishing Up
Reattach the wheel and hand-tighten the lug nuts. Lower the car back to the ground and use the lug wrench to fully tighten the nuts in a star pattern to ensure even pressure. Repeat the process for the other wheels if necessary.
Before hitting the road, pump the brakes a few times to ensure they're functioning correctly. It's also a good idea to take a short test drive to make sure everything feels right.
By following these steps, you can confidently replace your brake pads and keep your vehicle running smoothly. Regular maintenance like this not only enhances safety but also prolongs the life of your car.