DIY Guide: Installing Brake Pads Safely and Efficiently


Understanding the Basics of Brake Pads
Brake pads are a critical component of your vehicle's braking system. They work by creating friction against the brake rotors, which helps to slow down or stop your car. Over time, these pads wear down and need to be replaced to maintain optimal braking performance. Replacing brake pads is a relatively simple DIY task if you follow the correct steps and take necessary precautions.
Before starting, make sure you have all the necessary tools and replacement parts ready. Essential tools usually include a car jack, lug wrench, C-clamp, and a set of new brake pads. Having everything prepared will make the process smoother and more efficient.

Preparation and Safety Measures
Safety first! Ensure your vehicle is parked on a flat surface and engage the parking brake. Use wheel chocks to prevent the car from rolling. These precautions are vital for your safety during the installation process. Additionally, wearing gloves and safety glasses can protect you from dirt and debris.
Once your vehicle is secured, loosen the lug nuts on the wheels with the brake pads you wish to replace. Do not fully remove them yet; this step is just to make it easier to take off the wheel once it’s lifted. Next, use a car jack to lift the vehicle until the wheel is off the ground. Place the car securely on jack stands before removing the wheel entirely.
Removing the Old Brake Pads
With the wheel removed, you’ll have access to the brake caliper, which holds the brake pads. Use a socket wrench to remove the bolts securing the caliper. Be cautious when removing the caliper; let it rest on the suspension or hang it using a wire to avoid putting stress on the brake line.
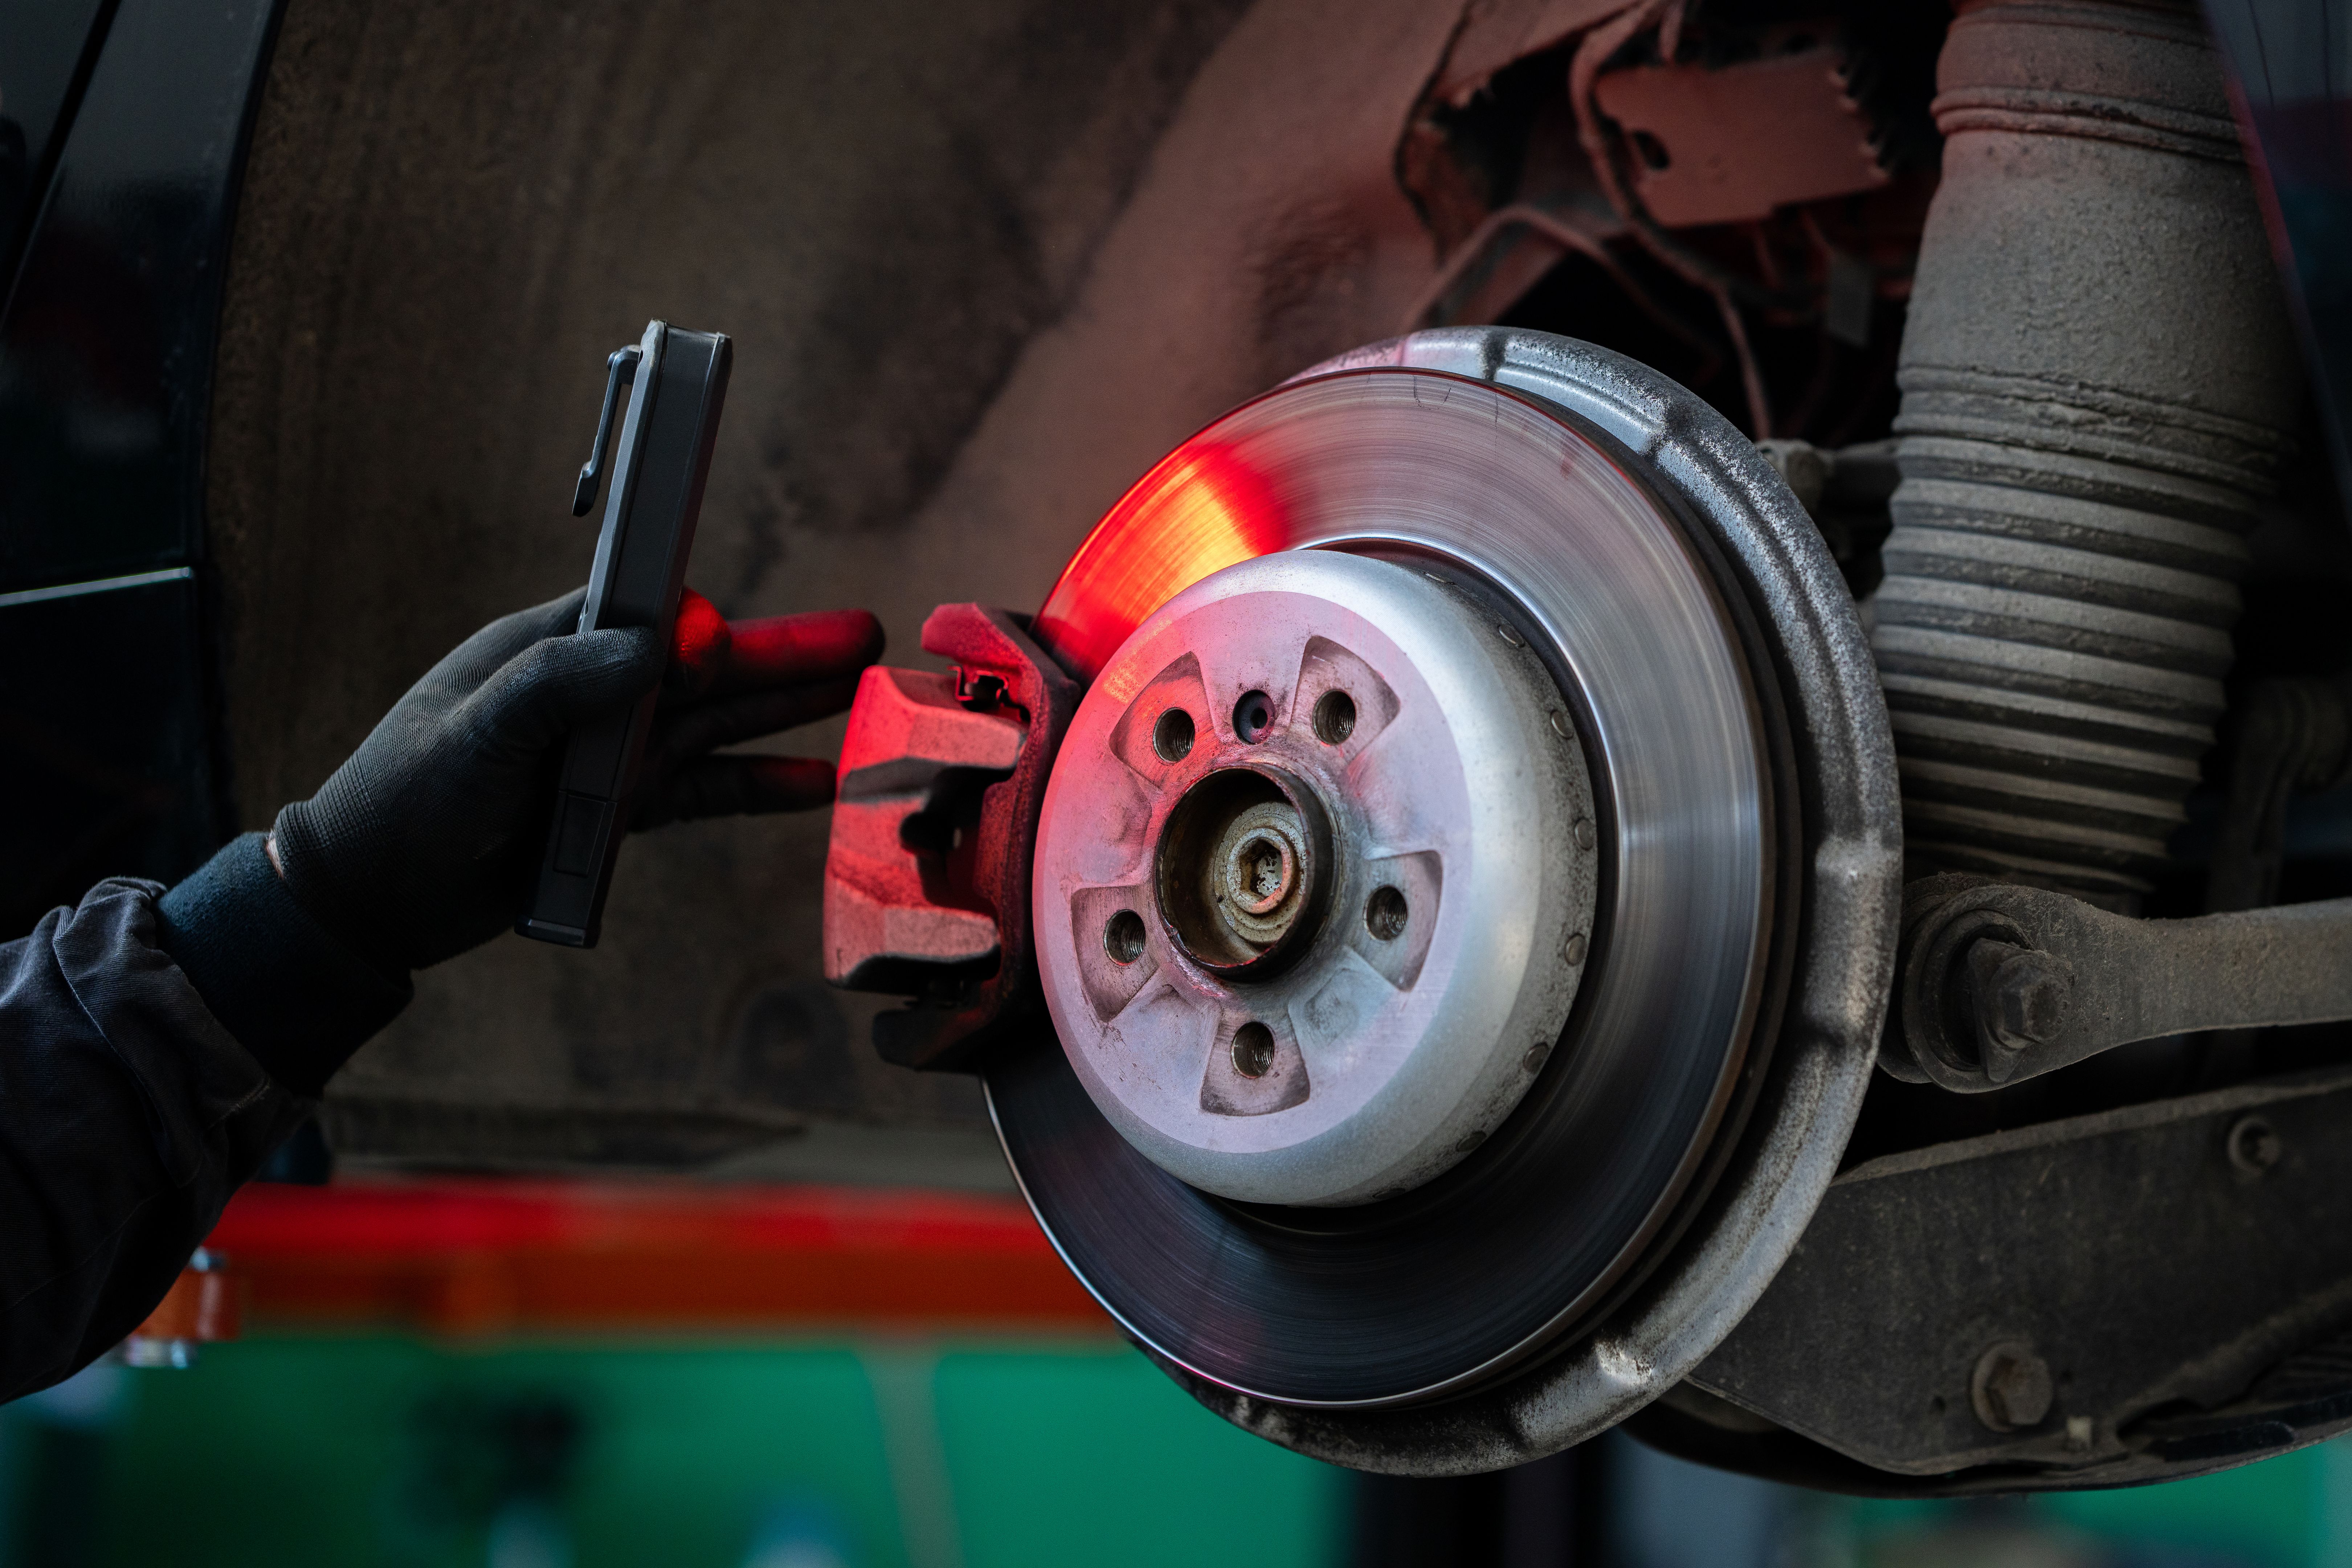
After safely removing the caliper, slide out the old brake pads from their slots. Take note of how they are positioned, as this will guide you during installation of the new pads. This is also a good time to inspect the brake rotor for any signs of excessive wear or damage.
Installing New Brake Pads
Before installing new brake pads, use a C-clamp to compress the caliper piston. This step is crucial as it creates enough space for the thicker new pads to fit. Position one end of the C-clamp on the piston and slowly tighten until it is fully retracted.
Next, slide in the new brake pads into position, ensuring they are aligned properly within their slots. Replace any clips or shims that were removed earlier. Once in place, reposition the caliper over the brake pads and secure it with bolts.
Final Steps and Testing
Reattach the wheel and hand-tighten the lug nuts before lowering the vehicle back to ground level. Once on solid ground, use a lug wrench to fully tighten the lug nuts in a star pattern for even distribution.
Before taking your vehicle for a road test, pump the brake pedal several times to ensure proper pressure is restored in the braking system. This action also helps seat the new brake pads against the rotors, ensuring they work effectively.
Conclusion
Replacing brake pads can be a rewarding DIY project that saves you money while giving you hands-on experience with car maintenance. Always prioritize safety by double-checking your work and ensuring all components are secured properly before driving. With patience and care, you'll have your vehicle's brakes working like new in no time.