DIY Car Repair: How to Replace Your Brake Pads at Home


Understanding the Basics of Brake Pads
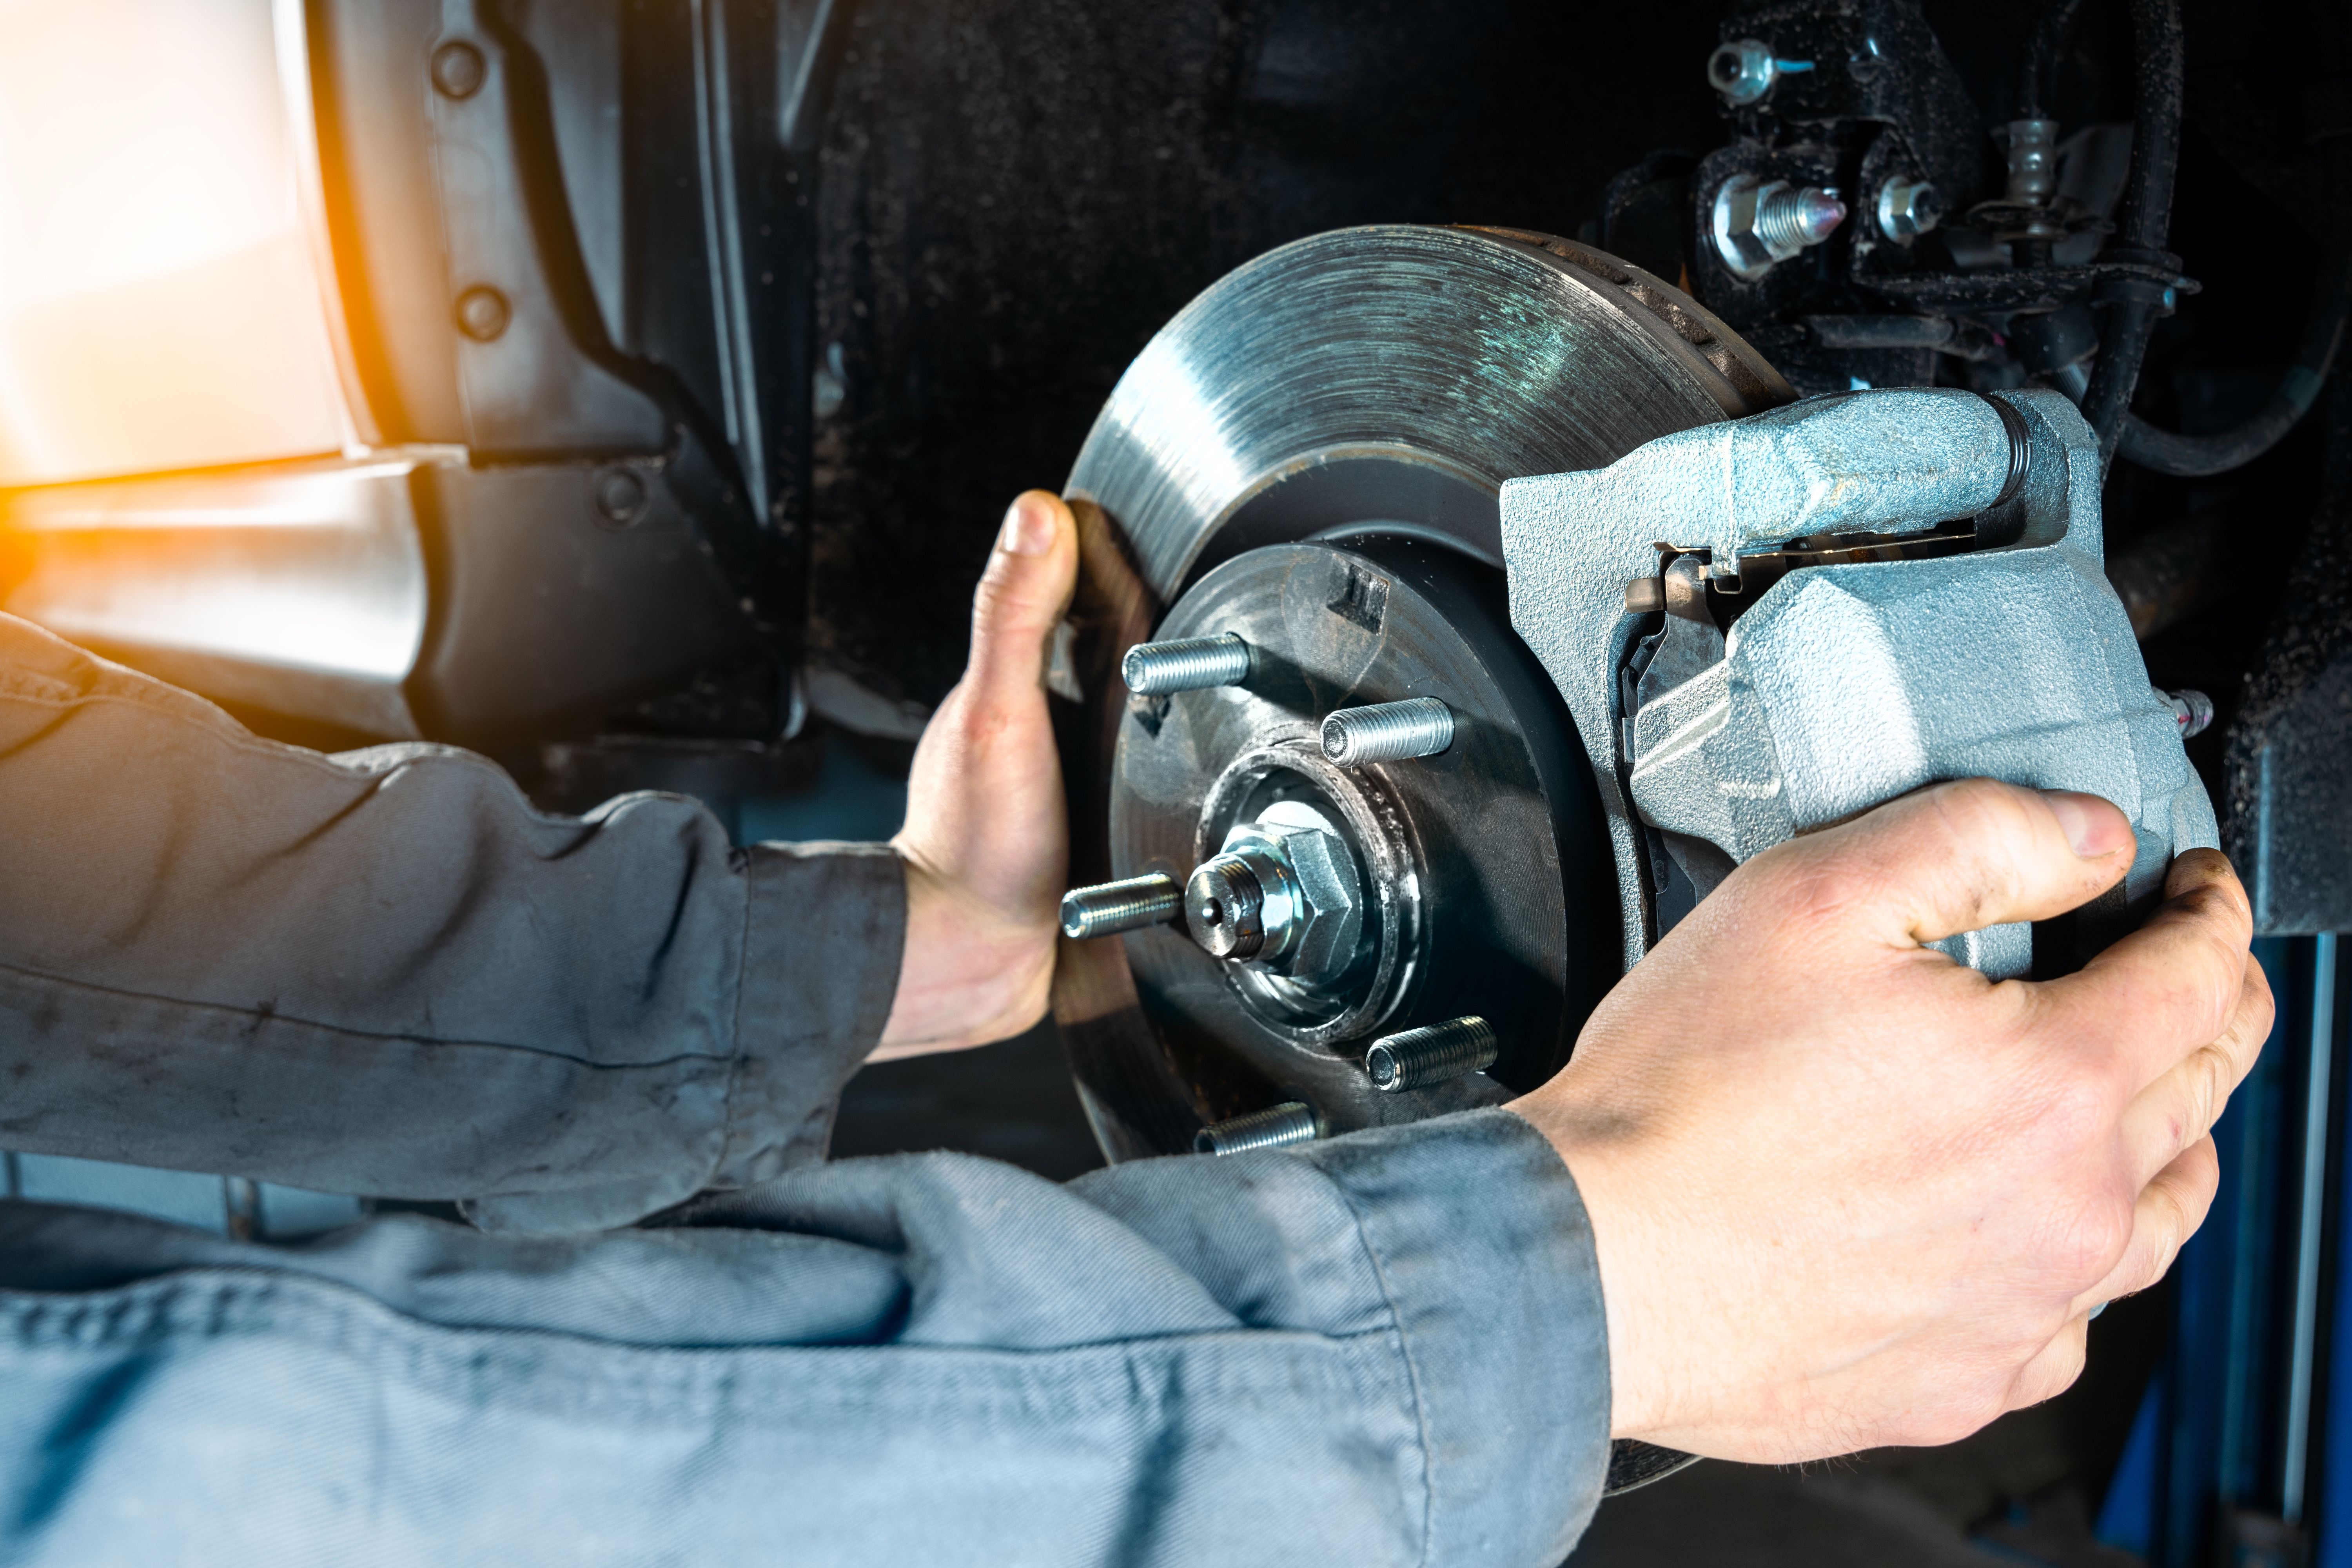
Brake pads are a crucial component of your vehicle's braking system. They work by applying friction to the brake rotors, which in turn slows down and stops the car. Over time, brake pads wear down and need to be replaced to ensure your car remains safe to drive. Replacing them yourself can save you money and give you a sense of accomplishment.
Before diving into the DIY process, it's essential to understand the signs that indicate your brake pads need replacing. These include squeaking or grinding noises when braking, a longer stopping distance, or a warning light on your dashboard.
Gathering the Necessary Tools and Materials
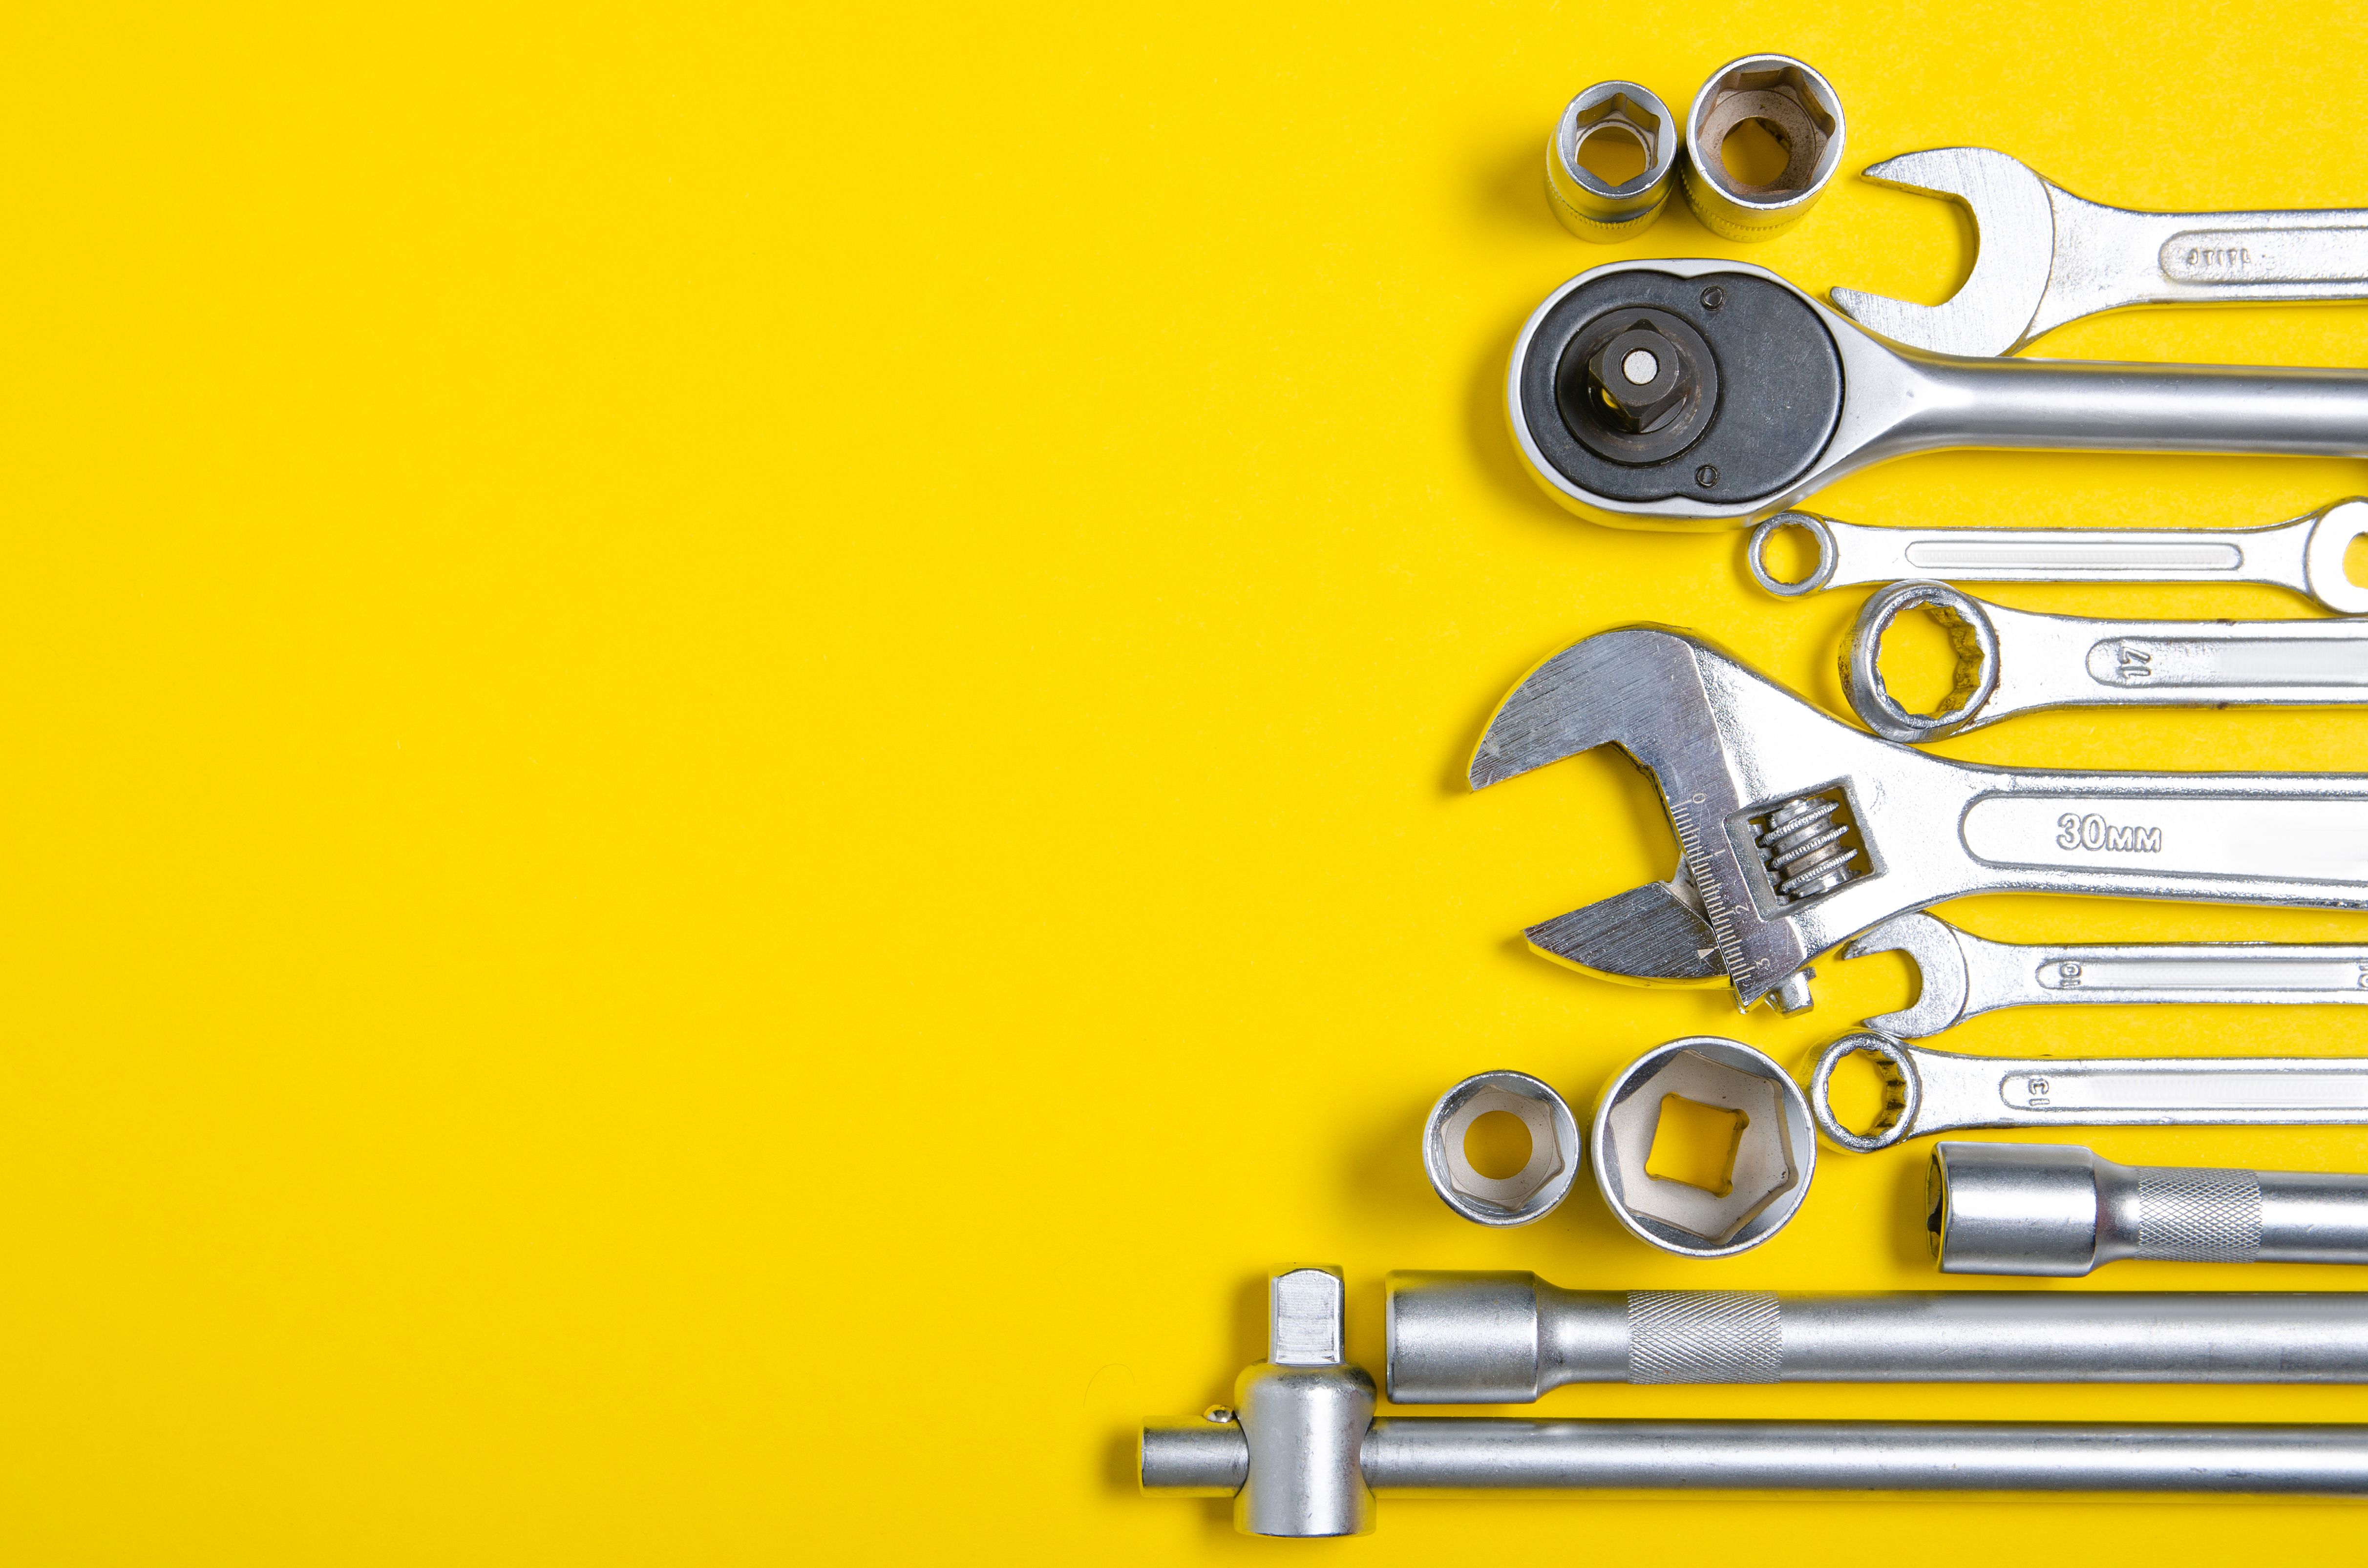
Before you start, ensure you have all the necessary tools and materials. Here's a list of what you'll need:
- New brake pads
- Car jack and jack stands
- Lug wrench
- C-clamp or brake caliper tool
- Socket set
- Brake fluid
- Protective gloves and safety glasses
Having everything prepared in advance will make the process smoother and more efficient.
Step-by-Step Guide to Replacing Brake Pads
Follow these steps to replace your brake pads at home:
- Lift your vehicle: Use the car jack to lift your vehicle and secure it with jack stands.
- Remove the wheel: Use a lug wrench to remove the wheel nuts and take off the wheel to access the brake assembly.
- Remove the caliper: Use a socket set to unbolt the caliper and carefully slide it off the rotor. Be sure not to let it hang by the brake hose.
Installing New Brake Pads
Once you've removed the old brake pads, it's time to install the new ones:
- Compress the caliper piston: Use a C-clamp or brake caliper tool to push the piston back into the caliper housing. This step is crucial for fitting the new pads.
- Install new pads: Place the new brake pads into the caliper bracket, ensuring they are seated correctly.
- Reattach the caliper: Slide the caliper back over the rotor and secure it with bolts.
Finalizing the Process
With the new brake pads installed, complete the process by following these final steps:
- Reinstall the wheel: Put the wheel back on and tighten the lug nuts securely.
- Lower the vehicle: Carefully lower your car back to the ground using the car jack.
- Test drive: Take your vehicle for a short test drive at low speeds to ensure everything functions correctly. Listen for any unusual noises and check that braking performance feels normal.

Safety Tips and Considerations
Safety first! Always wear protective gloves and safety glasses when working on your vehicle. Make sure your car is on a stable surface before lifting it with a jack. If you're unsure about any step in this process, consult with a professional mechanic or refer to your vehicle's manual for guidance.
Tackling a DIY brake pad replacement can be a rewarding experience. Not only do you save on labor costs, but you also gain valuable skills that can be useful for future car maintenance tasks. With careful attention to detail and adherence to safety guidelines, you'll have your car back on the road with confidence.