DIY Car Maintenance: A Step-by-Step Guide to Replacing Brake Pads

Introduction
Maintaining your vehicle's brake system is crucial for ensuring safety on the road. One of the most common maintenance tasks is replacing brake pads. While it might seem daunting, this task can be accomplished with some basic tools and a little guidance. In this step-by-step guide, we'll walk you through the process of DIY brake pad replacement.
Gathering Your Tools and Materials
Before starting, make sure you have all the necessary tools and materials. Here's a list of what you'll need:
- Jack and jack stands
- Lug wrench
- Socket set
- Brake cleaner
- New brake pads
- C-clamp or brake caliper tool
- Gloves and safety glasses
Having everything ready will make the process smoother and more efficient.
Preparing Your Vehicle
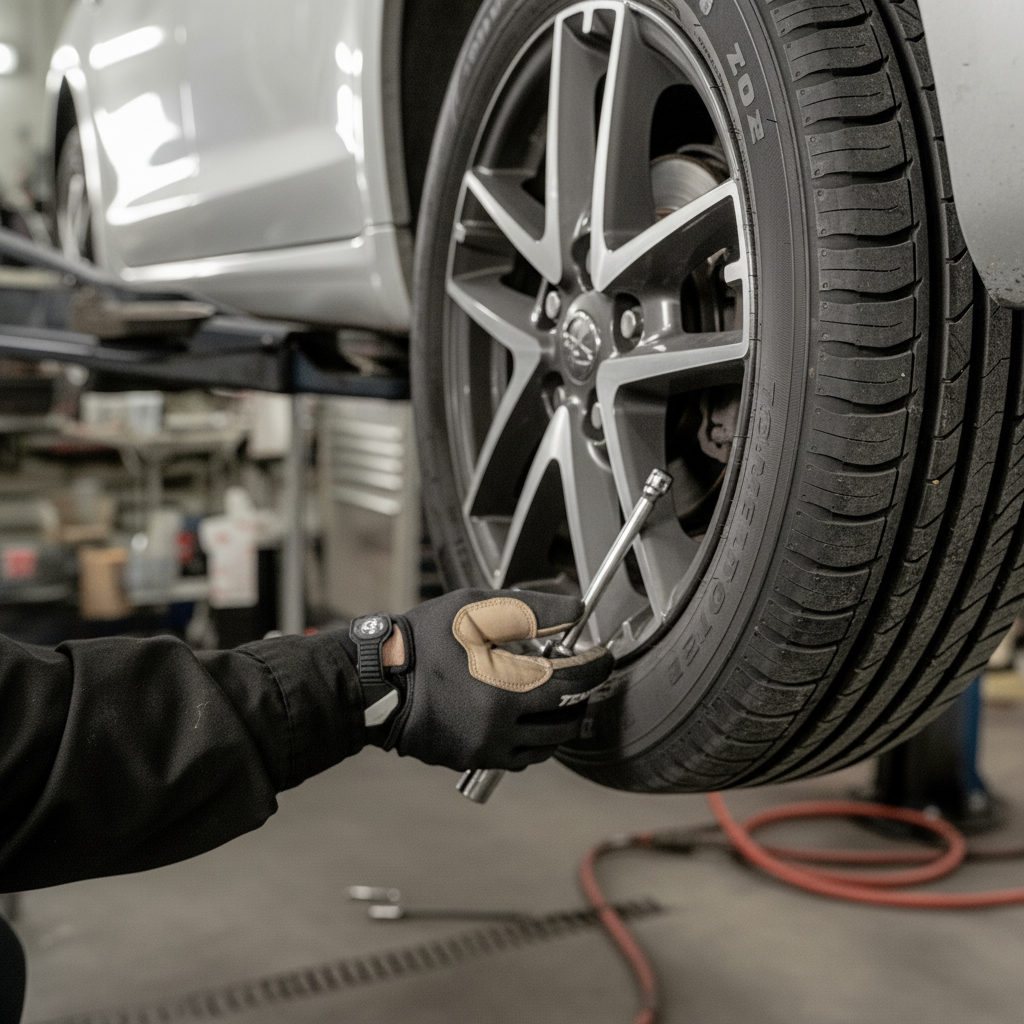
Start by ensuring your vehicle is parked on a flat surface, and engage the parking brake. Loosen the lug nuts on the wheels where you'll be replacing the brake pads. Then, use the jack to lift the vehicle and support it securely with jack stands. Remove the wheels to access the brake calipers.
Removing the Old Brake Pads
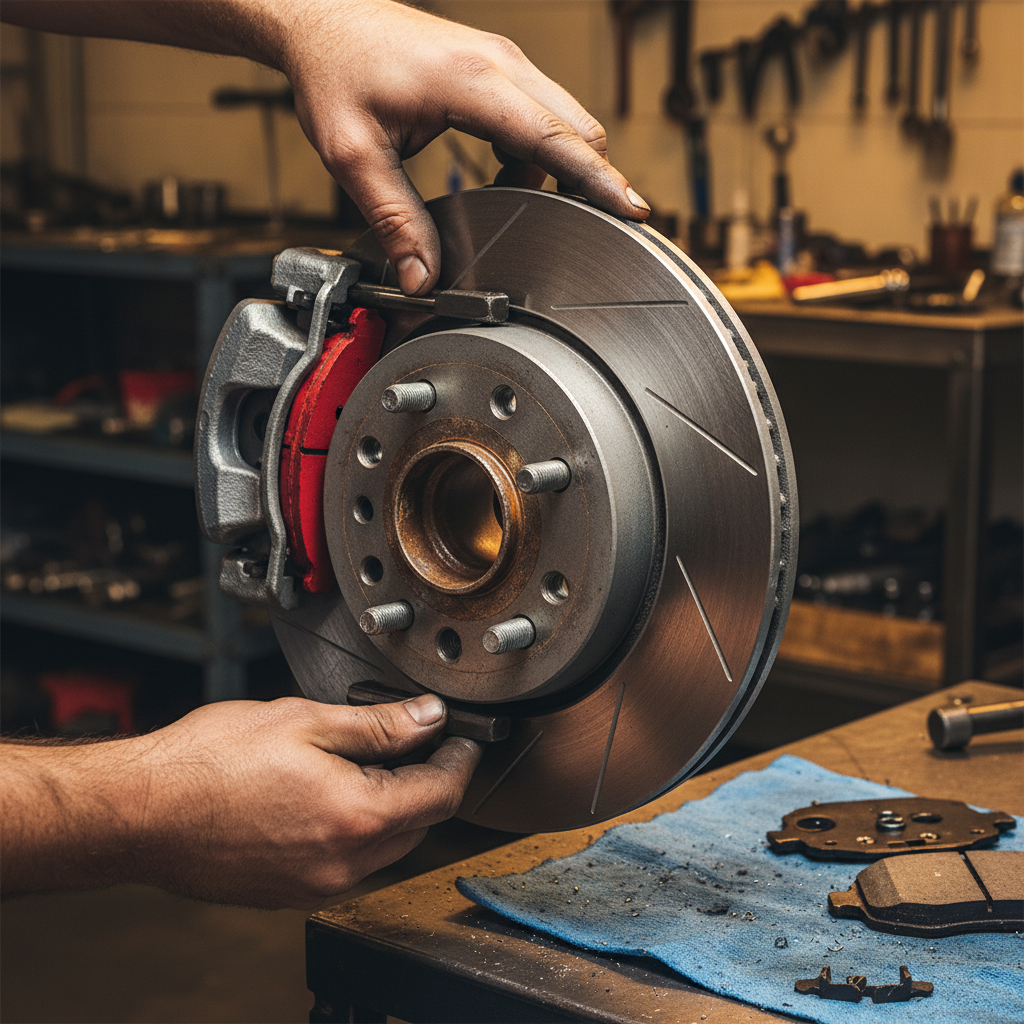
Once the wheels are off, locate the brake caliper. Use the socket set to remove the bolts holding the caliper in place. Carefully slide the caliper off the rotor, ensuring it doesn't hang by the brake hose. Remove the old brake pads from the caliper bracket.
It's a good idea to inspect the rotors at this point. If they appear worn or damaged, consider having them resurfaced or replaced.
Installing New Brake Pads
Before installing the new pads, use brake cleaner to clean the caliper and rotor. This ensures any dust or debris doesn't interfere with the new pads. Place the new brake pads into the caliper bracket, ensuring they're aligned correctly.
Reassembling the Brake System
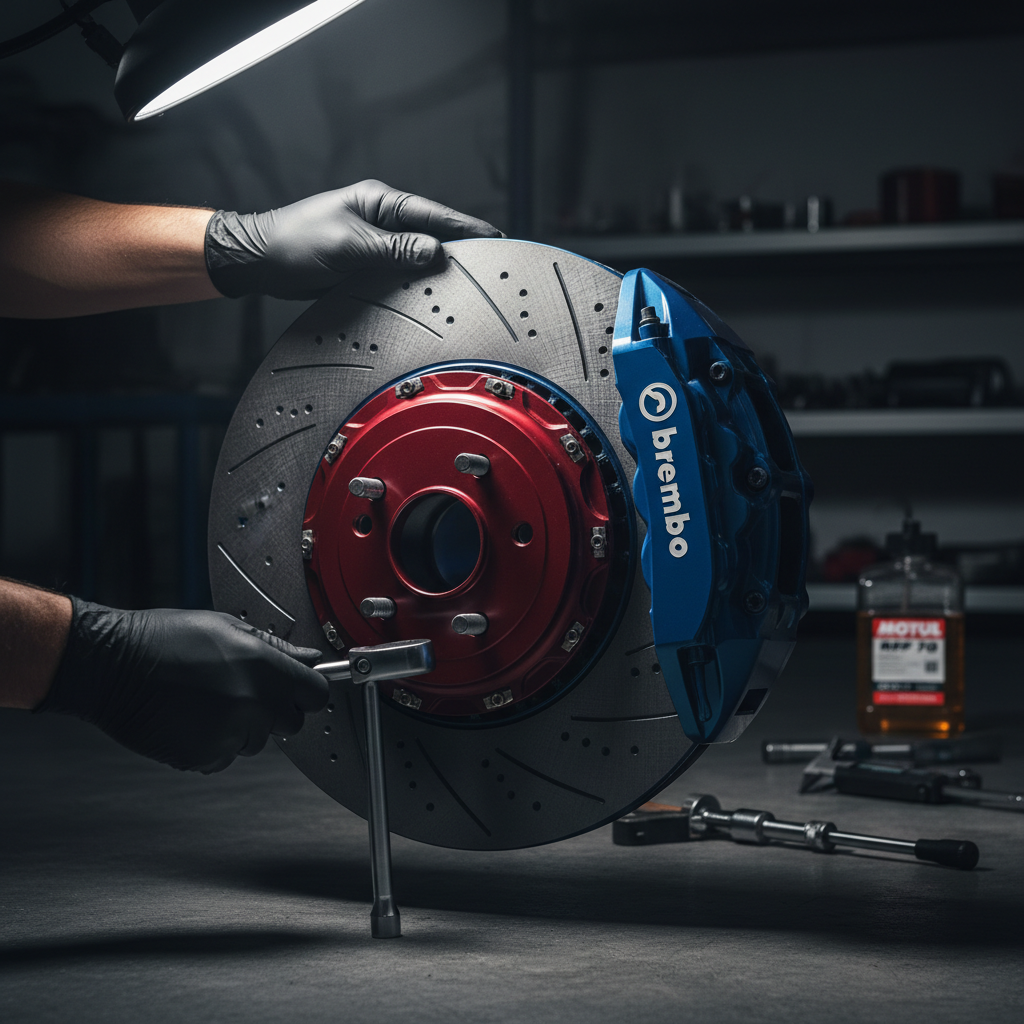
Use a C-clamp or brake caliper tool to compress the caliper piston. This step is essential to make room for the new pads. Once compressed, carefully slide the caliper back over the rotor and secure it with the bolts. Ensure everything is tight and properly aligned.
Final Checks and Testing
With the new pads installed, reattach the wheels and tighten the lug nuts. Lower the vehicle and do a final check to ensure everything is secure. Before taking your car for a drive, pump the brake pedal a few times to seat the new pads.
Finally, take your vehicle for a short test drive. Pay attention to how the brakes feel and listen for any unusual noises. This will help ensure everything is functioning correctly.
Conclusion
Replacing brake pads is a manageable task that can save you money and give you a better understanding of your vehicle. By following these steps, you can confidently perform this maintenance task, ensuring your car remains safe and reliable on the road. Always prioritize safety and consult a professional if you're unsure about any part of the process.